We always recommend authors add visual interest to their texts using images, yet we recognize that not every author has access to their own images to add to the text. One of the easiest places to find creative commons images is at Wikimedia Commons (https://commons.wikimedia.org/).
Please note that this guide is provided as a tool for educational purposes. It is not legal advice nor intended to be an exhaustive lesson on licensing, but it should serve you as you work on your project. As copyright infringement can carry serious consequences, we recommend that you seek independent legal advice on your project.
How To Find and Cite Images from Wikimedia Commons:
1) Search for Image - Go to https://commons.wikimedia.org/ and search for an image you might want for your work by entering a keyword into the search bar.

2) Image Details - After clicking on the image, you should find yourself on the details page. If you are simply viewing the image, you may need to click on the blue-button in the bottom-right of the image viewer to view the details page.
3) Save Image - Save the image for purposes of uploading into your text. To save the image, simply right-click (Mac: Command + click) on the image and click on Save image as.

You should save the image in a place where you’ll easily find it later. We recommend creating an all-purpose “Top Hat Authoring” folder. You can create this by clicking Create folder. Once inside your newly created folder, click on Save in the bottom-right corner.
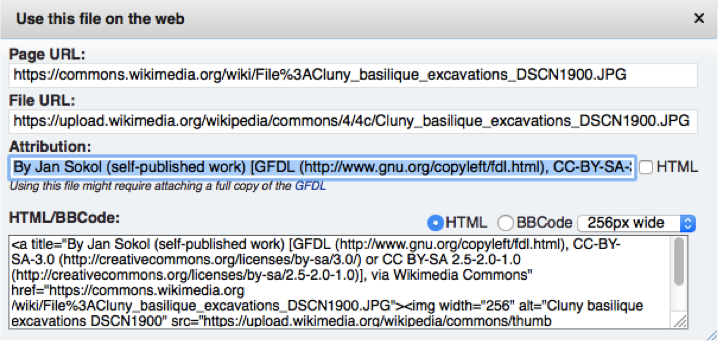
4) Citation Information - Now that you’ve saved the image, it’s time to get your citation information! Click on Use this file on the web.

5) Attribution - Copy the information listed under “Attribution” as you will need that for citation your citation. To copy the information, highlight it all and then right-click on the text and click Copy.
6) Add to Textbook - Once you’re working on your text, it’s time to load the image into your textbook. To do this, we have to get to the interactive elements toolbar. Press the Enter key on your keyboard so that your cursor is on an empty line and the + Add button appears, as below.
Click on the + Add button and then click on Picture.

From here, find where you saved your image, and it will load into your book!
7) Image Credits - You may cite the image however you choose, making sure to use the information from the Attribution section in step #5. We recommend a short and informative caption followed by a number in brackets corresponding to an “image credits” section at the end of your chapter.
To create an image credits area, just scroll to the bottom of your section and type out “Image Credits.” Then highlight it and format it as a header by selecting “H2” (or any other header size you prefer).

8) Formatting Image Credits - When looking at your Image Credits section, remember that you can reformat the Attribution information from step #5 using Top Hat’s helpful formatting options. Below is an example of properly formatted image citations in a Top Hat Textbook.
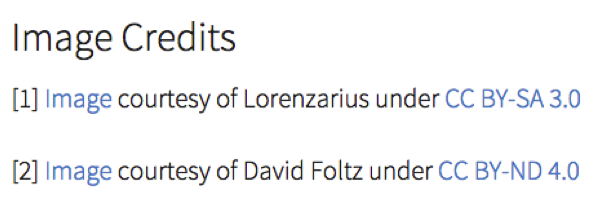
In order to add a hyperlink, simply highlight the text "Image", and click on the link icon. Click on Website and paste the relevant link.

For more information on formatting and linking out from citations, see Top Hat Authoring: Copyright FAQs.
SupportShould you require further assistance with Top Hat, our Support Team is here to help you! You can contact us directly by way of email (support@tophat.com), the in app support button, the Contact Support button on this page, or calling us at 1-888-663-5491.